Khandas to Bhimashankar via Ganesh Ghat trek
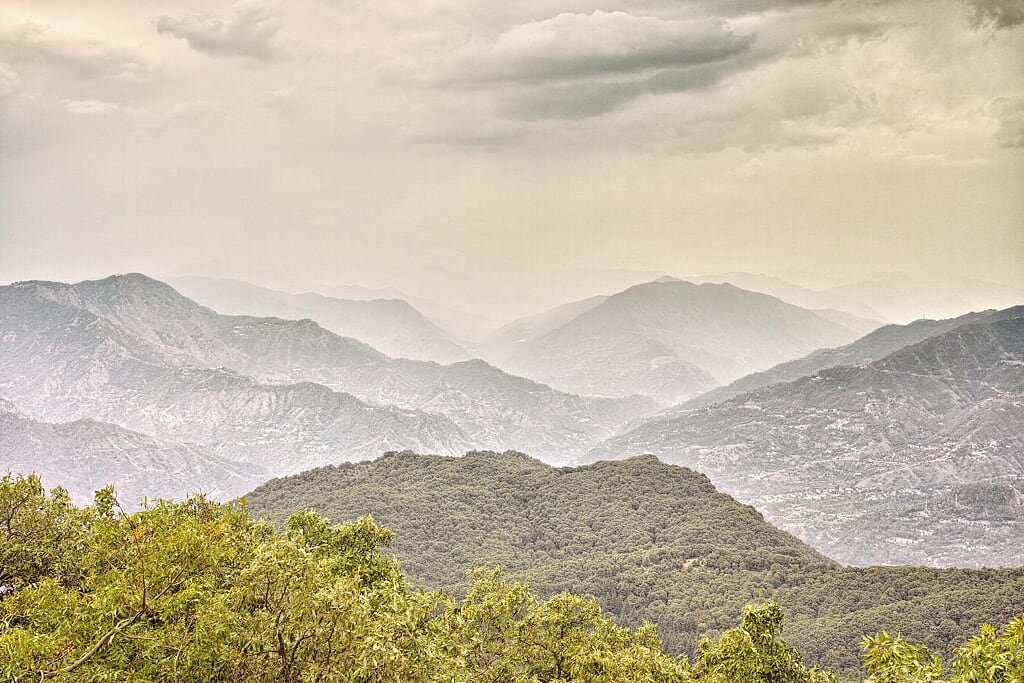
Gazing at Bhimashankar’s walls is the most compelling reason to visit Bhimashankar during the monsoons. Bhimashankar temple is located 50 kilometres northwest of Khed near Pune in the heart of the Western Ghats. The temple sits on a plateau that towers 850 metres over the surrounding countryside. The formidable rocky sides of this towering plateau are known as Bhimashankar’s walls.
During the monsoons, this rock face is covered in lush green vegetation and is home to numerous thundering waterfalls. The best place to view these majestic walls and waterfalls lies along a trekking trail that connects Bhimashankar to the sleepy hamlet of Khandas.
Table Of Contents
There are two established trekking trails between Khandas and Bhimashankar. The first of these trails is called “Sidhi Ghat”. This route is named after the three ladders or Sidhi (in Hindi) that have been placed along some tricky sections on this trail. The second trail is known as “Ganesh Ghat”, named after a temple dedicated to the Hindu deity Ganesha which falls on this route. Among the two alternative trekking trails, Ganesh Ghat is a longer yet less challenging route. However, what this trail lacks in difficulty, it makes up in some magnificent views of Bhimashankar’s walls.
The trail from Khandas to Bhimashankar via Ganesh Ghat is a 4 hour, 8-kilometre moderate trek. The trekking trail passes close to the base of a rock tower known as Paddar Killa and also along a snake hood shaped peak known as the Nagphani peak. The trail is well marked and it is often used by locals and trekkers. However, do not underestimate this trail because every year this trail catches a few unprepared trekkers off guard. Villagers at Khandas tell numerous stories about trekkers who were lost because they strayed off the trail or because they underestimated the time it would take to complete the trek and were stranded on the trail after dark.
The forest near Bhimashankar is famous for its phosphorescent (glow in the dark) plants . Yet camping for two in the woods I did not come across any of these elusive plants. If you do plan to camp overnight then we recommend taking the time out at night to look for this elusive plant. It may be a once in a lifetime enlightening (pardon the pun) experience.
Trek Diary
The 8 kilometre Ganesh Ghat route comprises of three moderate climbs interspersed among three gentle walks. The starting point for the trek is two kilometres from Khandas village. Khandas is located 25 kilometres from Neral and 29 kilometres from Karjat. Irrespective of whether you start from Karjat or from Neral, you will have to reach a small town of Kashele. From Kashele, a shared auto-rickshaw is the easiest way to get to Khandas. The distance between Kashele and Khandas is 12.3 kilometres and it takes about half an hour by auto.
Khandas is a small village with no lodges or guest houses. Nevertheless, it boasts of a small fast food Chinese joint called Akshay Chinese Corner. This small food joint caters to tourists and trekkers and the proprietor (Dashrath Ainkar 8888449434 / 8888125825) is happy to arrange a taxi or auto-rickshaw to and fro the nearby town of Neral or Karjat. Neral and Karjat both have train stations and are connected by regular local trains to Mumbai City.
Exactly 1.5 kilometres from Akshay Chinese Corner, on the metalled road to Mohghar there is a small bridge across a stream with a “T” junction ahead. Take a right from the T junction and follow the metalled road upstream. After 600 metres the metalled road ends near a desolate shack and a rocky walking trail leads straight ahead into a dense forest. This desolate shack doubles as a tea shop during the summers and winters and it is the starting point for the Ganesh Ghat trek. The walking trail through the dense forest starts off as a moderate climb. Pace yourself for the next 850 metres till you come across a Ganesha temple. The trekking route is named after this Ganesha temple.
Just after the temple, the trail makes a sharp left and continues uphill through the forest for another 1.2 kilometres. After two kilometres of climbing, you emerge from the tree cover on to a relatively flat plateau. At this point, the trail eases down into a gentle climb and leads due North-East. The plateau is rocky and many streams criss-cross this rocky plateau.
Halfway along the plateau, you will catch your first glimpse of a towering rock pillar to your right. Known as “Paddar Killa”, this imposing rock tower makes an excellent place for rock climbing. A narrow side trail bifurcates from the main trail and leads to the base of the rock pillar. Moving along the plateau you catch your first glimpse of Bhimashankar’s walls dead ahead. The north end of this plateau is the perfect viewpoint for gazing at these walls (see GPS logs).
This magnificent view is the primary reason for choosing the Ganesh Ghat route over the Sidhi Ghat route. From this point on the trail turns right and continue due west. Along the way you cross old water well. The well is shallow and the water can be drawn without a rope. Nevertheless, during the monsoon, the water was muddy and not potable. This west traverse of the plateau ends at a stream. Crossing the stream requires care as there is a steep drop to your left. Situated along the stream is a small shack with a mini waterfall next to it. This shack is a good place for a snack or to dry off after a rain shower.
After the shack the trail heads due north and dives into another wooded section. This wooded section is notorious for its monkeys and therefore it is advisable to keep edibles zipped up inside rug sacks. The trail meanders past a few streams and along the base of a huge boulder. It is a pity that vandals have etched their names on this boulder.
A further 800 metres from the boulder, the trail emerges under the woods near a cluster of shacks. This cluster of shacks marks the spot where the Sidhi Ghat and Ganesh Ghat routes converge. This shack cluster also marks the starting point of the second and the steepest climb along this route. For the next 750 metres the route zig-zags and hugs the southern wall of the plateau. There is an elevation gain of 200 vertical metres in this three quarter kilometre stretch. From this point on the trail is narrow at this stretch with a sheer drop on to your left.
During the monsoon, this section can get slippery with mud, wet rocks and small streams. Exercise caution especially when descending this stretch. Despite the steep climb this stretch which is exposed on the south offers some beautiful views. Nagphani peak is visible along this climb and so are the lush green fields and houses of Padarwadi village on to the west.
After this steep stretch, the trail eases into gentle climb through some trees for the next one kilometre. The third and the final 500-metre climb is the gentlest of the three and it leads through a thicket of trees on to the top of the plateau. From the top of the plateau, it is an easy walk to the Kamalaja temple which marks the end of the trek.
Trek Summary
- Type - Day Trek. Moderate (monsoon).
- Difficulty - Swiss Alpine Club (SAC) Scale - T2.
- Trek Duration - 3.5 – 4.5 hours ascent and 2 – 4 hours descent.
- Trek Distance - 8.1 kilometres one way from the start of the Ganesh Ghat walking trail. 10.2 Kilometres from Khandas village.
- Maximum Elevation - 959 metres / 3150 feet.
- Start Point - Khandas village (12.7 kilometres from Kashele, 25 kilometres from Neral and 29 kilometres from Karjat).
- Finish Point - Bhimashankar temple.
- Getting To Khandas - Neral is the nearest train station to Khandas. SH54 connects Neral to Khandas via Kashele. Kasher is 12.3 kilometres from Neral and Khandas is a further 12.7 kilometres from Kashele. Shared auto-rickshaws can be hired from Neral to Kashele. Change at Kashele for another auto-rickshaw to Khandas. Karjat train station is 16.7 kilometres from Kashele. Karjat is connected to Kashele via SH38 and auto-rickshaws and buses ply on this route.
- Hotel and Stay - No lodges in Khandas or Kashele. Budget lodges available in Neral and Karjat.
- Weather - Bhimashankar plateau experiences heavy rainfall and it is often covered in low clouds during the monsoons.
- Caution – Low clouds often cause a whiteout which in certain instances may reduce visibility to under 5 metres. During a severe whiteout, it is best to stay put and wait out the whiteout to pass. A GPS device or a smartphone with a preloaded route map is extremely helpful in a whiteout.
Essential Gear
- Daypack – Quechua Forclaz 30 day pack (Decathlon).
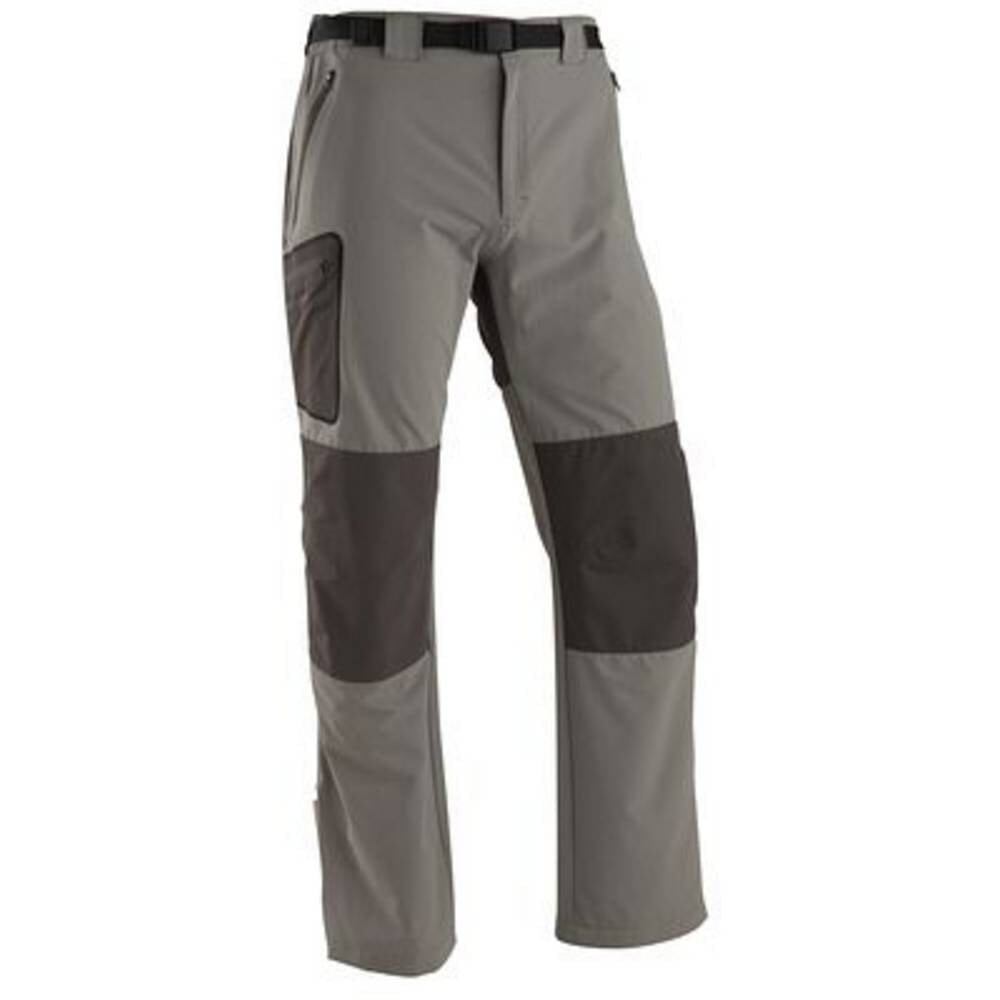
- Clothes – Quechua Techfresh 50 T-shirt and Quechua Forclaz 900 trekking trousers (Decathlon).
- Shoes – Quechua Forclaz 500 M boots (Decathlon).
- Trekking poles – Quechua Forclaz 500 (Decathlon)
- Poncho Quechua Forclaz 200 (Decathlon)
- Smartphone / GPS
- Lifestraw - if you are not carrying a portable water filter its best to carry 2 litres of water per person
- Emergency Kit
- Headlamp with fresh batteries
- Trail snacks
- Extra socks, bandana, baseball cap
GPS Map, Waypoints & Log
Related
- Khandas to Bhimashankar via Ganesh Ghat (Maharashtra) trek route as an interactive map.
- [Karnala Fort and bird sanctuary]({% post_url 2015-07-18-Karnala-Fort-And-Bird-Sanctuary-Monsoon-Trek %}).
- [Ambivali to Peth Kothaligad fort trek]({% post_url 2015-08-11-Ambivali-To-Peth-Kothaligad-Fort-Monsoon-Trek %}).
- [Irshalgad pinnacle monsoon trek]({% post_url 2015-07-29-Irshalgad-Pinnacle-Monsoon-Trek %}).


