8 winter trekking tips for the Indian Himalaya
Despite its extra challenges winter trekking can be fun. For starters, the air is crisp and the visibility is better in winters. With fewer people out trekking, there is a far greater onus on serenity and self-reliance.
This serenity is addictive and it is a boon for solitude seekers. Nevertheless, this solitude and harsh weather also magnifies any mistake made on the trail. These mistakes can have severe and in some cases, even fatal repercussions. Here, I am compiling and sharing a few winter trekking tips distilled from mistakes that I made in the 2014-15 winter trekking season.
Table Of Contents
- 1. Start early
- 2. Change trekking pole baskets
- 3. Poke and move
- 4. Watch out for snow cornice
- 5. Carry an extra pair of socks
- 6. Stay Hydrated
- 7. Pack carefully
- 8. Backup orienteering gear
1. Start early
Days are short in winters. An early morning start can mean the difference between a warm, cosy shelter or a freezing night spent bivouacked in a snowfield. Snow is harder early in the morning before the sun gets a chance to turn it into soft fluffy slush. A harder surface means less postholing and therefore, a faster walking pace. Thus, start early and remember to pack a head torch with extra batteries just in case…
Postholing means breaking through snow crust and sinking into soft snow, usually up above the knees. It is a frustrating and miserable way to trek in the winters. When postholing, the only way to move forward is to pull each half-buried leg straight up out of the snow before taking the next step. This can be energy consuming and it shortens your stride considerably. The name Postholing is derived from the narrow, straight, deep hole a fencepost sinks into.
2. Change trekking pole baskets

Baskets are the round rings at the bottom of the trekking poles. Most trekking poles usually come with two sets of baskets: a narrow and a broad pair. Before you set out for a winter trek, make sure to switch the narrower pair for one with a bigger circumference. The broader basket helps maintain “float”. Float is a term used to describe the trekking poles ability, not to sink into the snow or ground. The small baskets break through the snow, rendering the poles almost useless. The bigger winter baskets prevent the poles from sliding deep into snow patches.
3. Poke and move
On the subject of trekking poles, make sure to poke the snow-covered ground ahead for any potential hazards. It can be tempting to ignore potential hazards when the snow is deep, fresh, and untracked. Thus, step carefully and be mindful of every available placement for your feet, especially on untracked snow. Poking can help find a less slippery path through descents. It can also help identify if you are close to walking over a snow cornice.
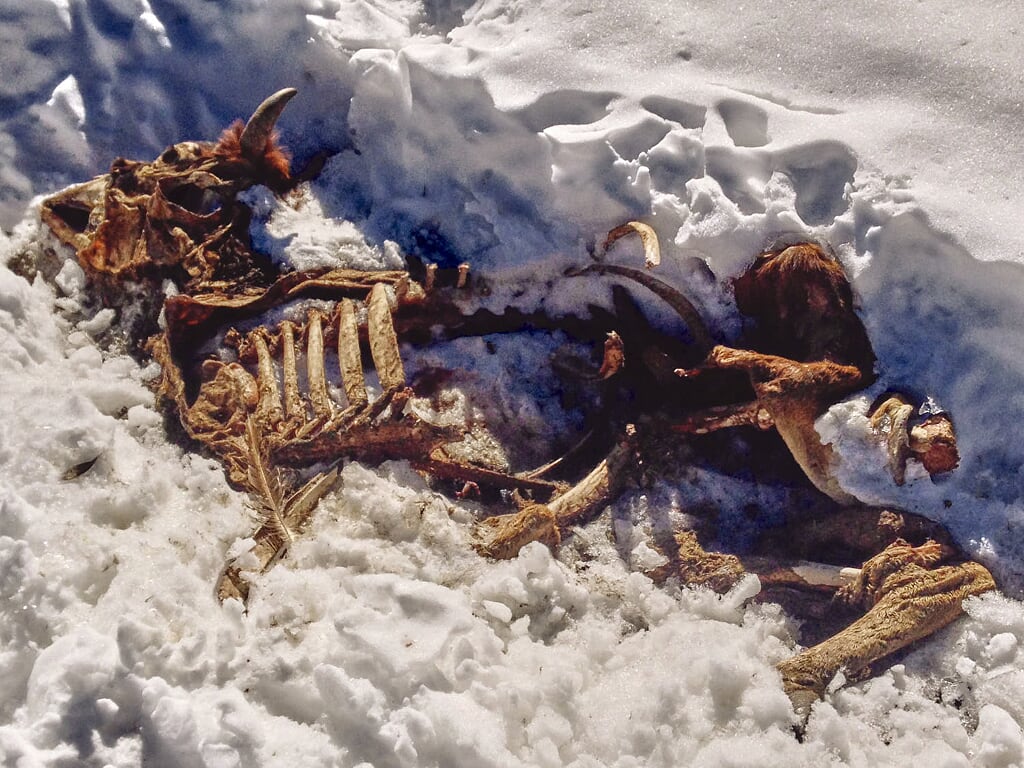
4. Watch out for snow cornice

A cornice is an overhanging ledge of snow on a ridge or the crest of a mountain. Cornices are formed by wind blowing snow over a sharp terrain break where the snow attaches and extends horizontally. This formation is common on the downwind sides of mountains. Cornices are extremely dangerous, and travelling above or below them should be avoided .Cornices pose a potentially high avalanche danger because they often break and trigger avalanches.
5. Carry an extra pair of socks
If you expect fresh snow or slush on your trekking route, make sure to pack a few extra pairs of socks. I’ve changed wet socks at least twice per day on all winter treks. Difficult treks with larger snow drifts, require three pairs of socks in a day. Your feet will thank you for a fresh and dry pair of socks. Fresh socks help keep your feet dry, blister-free and prevent trench foot and frost bite. Remember if all else fails and you get your boots wet, you can still keep your feet dry by lining your trekking boots with trash/plastic bags.
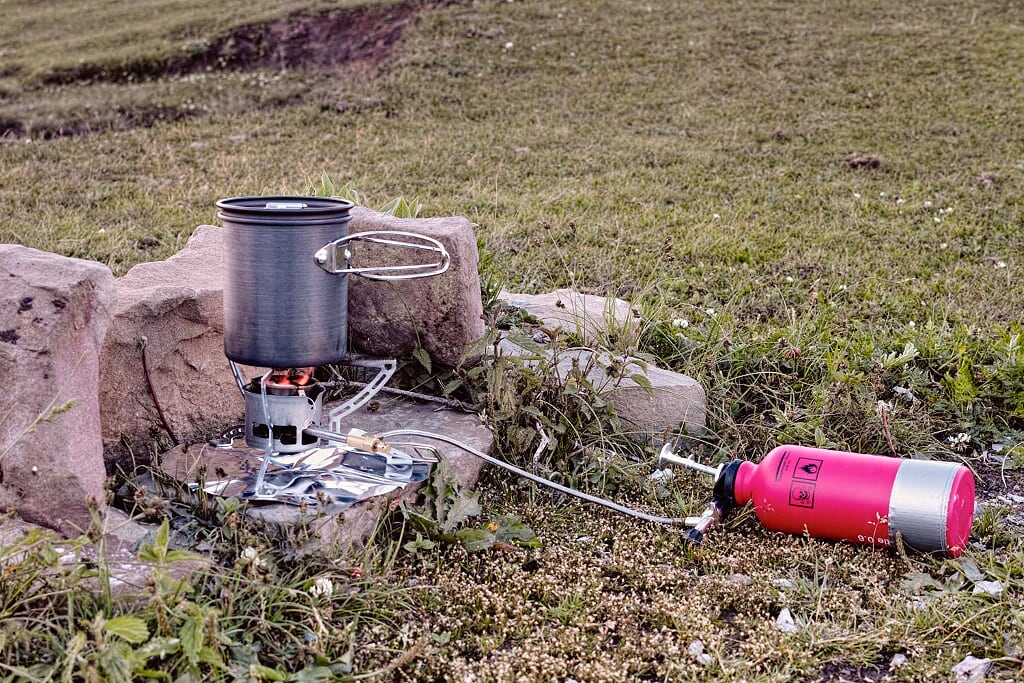
6. Stay Hydrated
Most people don’t associate drinking water with cold temperature. Yet, diminished thirst response and increased urine production are two contributing factors that lead to dehydration in colder temperature. Scientific studies also show that dehydrated people are more likely to get hypothermia. Therefore, remember to pack an ample amount of drinking water and other warm drinks in your backpack. I usually swear by warm tea infused with Tulsi (Holy Basil) and lemon. It is a refreshing winter drink. Another tip, is to pack your bottles upside down in your backpack. This is because water always freezes top-down and keeping bottles upside down keeps the neck, ice-free.
7. Pack carefully
A cold weather winter trek will reveal the smallest flaw in your packed gear and it shall be especially harsh on missing gear. On our Indrahar pass winter ascent, I was out of my tent at 5 AM. At 8 AM when the sun broke out, I realised I had left my snow goggles behind at base camp. Fortunately, the wind was calm that day and I did not have to deal with snow being blown into my eyes. However, after seven hours of trekking and staring at the snow, I experienced a sharp stabbing pain in my eyes. These stabbing pains subsided over the next two days. This was when I realised that in summers missing gear can be an inconvenience, but in winters this missing gear can be downright fatal. Thus, check and double-check each piece of gear in your backpack against a pre-compiled list of things, before you start a winter trek.
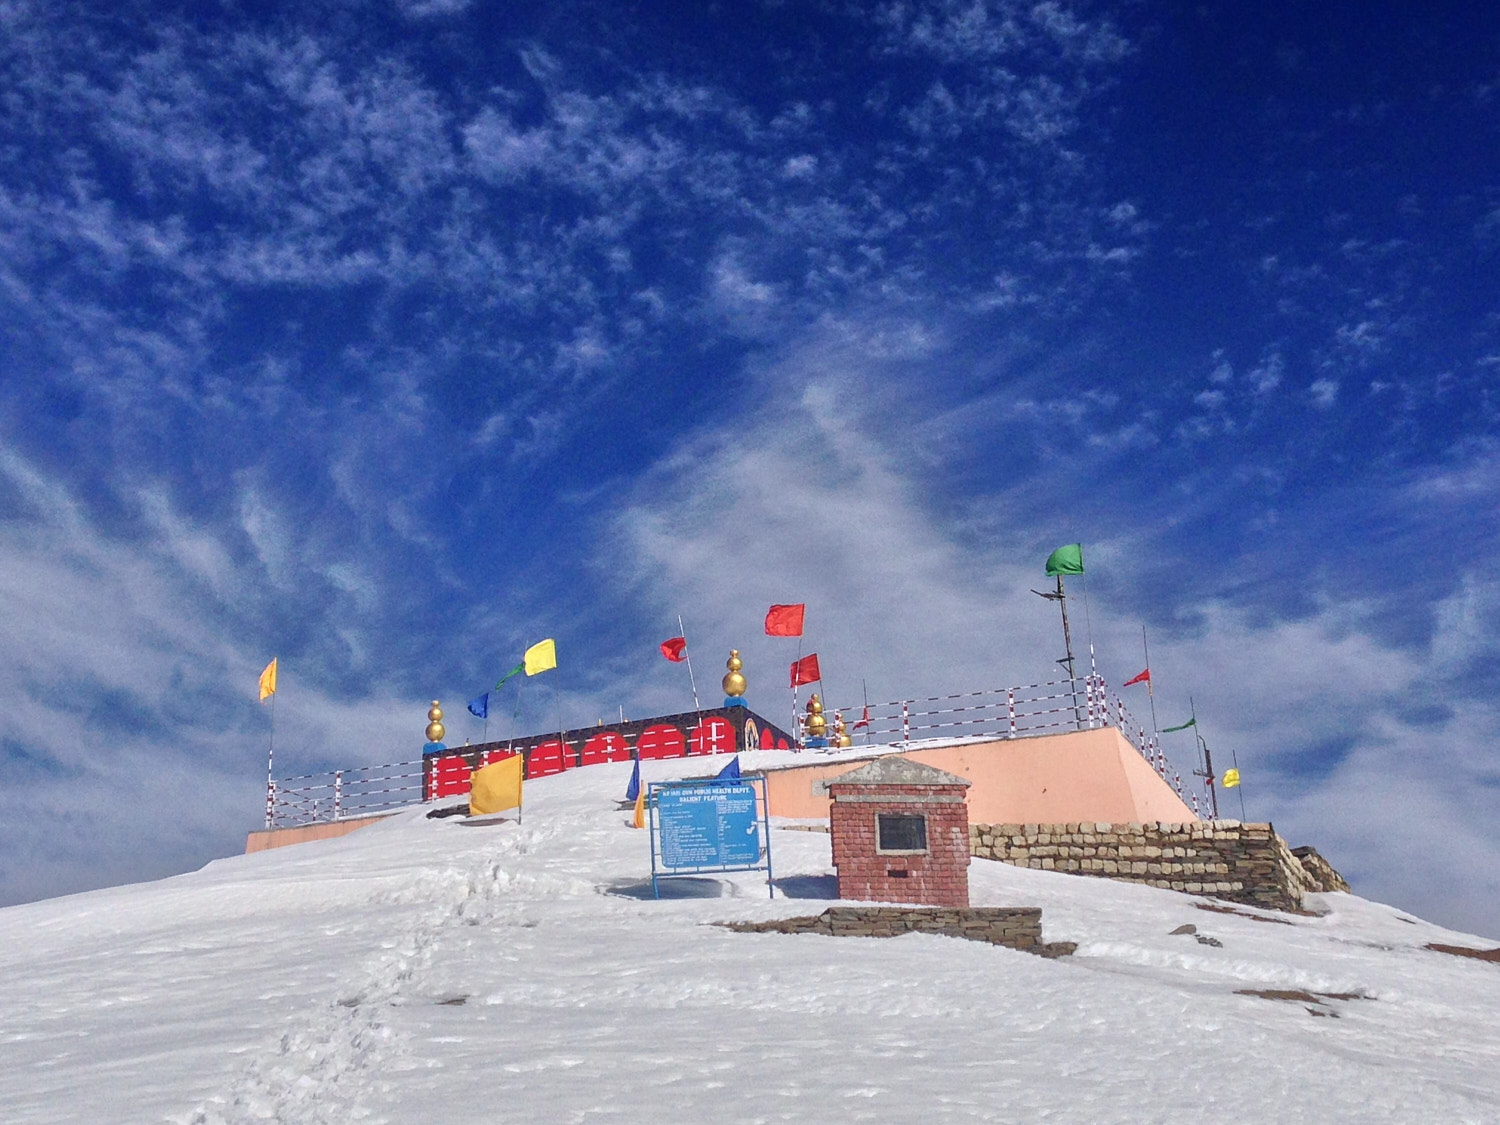
8. Backup orienteering gear
Severe weather and a featureless vacuum makes finding your way more daunting and accident-prone in winters. A whiteout is every trekker’s nightmare. With even fewer people on the trail, asking for directions is usually not an option. This holds especially true if you trek at thinly populated areas or on to higher altitudes. We were stranded near Barot (H.P.) when we lost our GPS in a snowdrift, which resulted in a botched and abandoned summit attempt. Make sure you have the necessary experience to deal with missing/non-functional navigation gear. Always supplement electronic orienteering gear with a backup device e.g. A GPS with a smartphone. In addition to electronic orienteering gear, always carry and learn how to use a compass and topographical maps. This skill may save your life one day. Videos online do a great job at explaining the basics of compass use and orientation but if you can afford a winter navigation course with an experienced trainer, go for it!